Beginners Guide to Resin Art

INTRODUCTION
In the realm of artistic expression, resin art stands out as a fascinating medium that merges creativity with chemistry. With its vibrant colours, glossy finish and versatile applications, resin art has gained immense popularity among artists and enthusiasts alike. In this blog, we will delve into the captivating world of resin art, exploring its history, techniques, and the endless possibilities it offers for creative expression.
UNDERSTANDING RESIN
Resin in its basic form is a viscous liquid that solidifies into a clear durable glass-like material when cured. It is composed of two main components – resin and hardener. When these two components are mixed together in the right proportions, a chemical reaction occurs leading to polymerization and the formation of a solid material.
HISTORY OF RESIN ART
Resin as an artistic medium has been around for centuries with its origin dating back to the ancient civilizations of Egypt and China. In ancient Egypt, resin was used in the process of mummification and in the creation of various artefacts and jewellery. Similarly ancient Chinese artisans used resin-based lacquer to decorate and preserve their artworks.
However, it wasn’t until the 20th century that Resin Art began to gain recognition as a distinct form of artistic expression. Artists experimented with various resins and techniques leading to the development of modern resin art as we know it today.
MATERIALS AND EQUIPMENT
Creating Resin Art requires specific materials and equipment to ensure successful results. Here are some essential items needed for resin art: “Skip the hassle of searching for the perfect resin – our dedicated team has meticulously curated a selection of top-quality products just for you. Click the respective link to discover the finest resin options available.”
- Resin and Hardener:
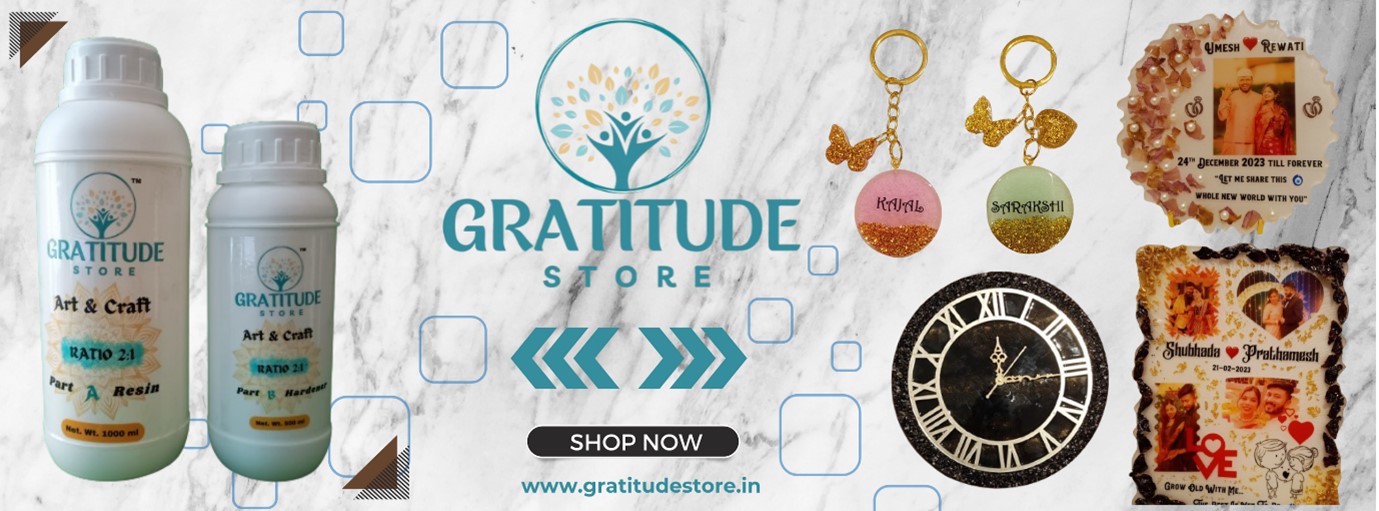
Choosing a good-quality resin is really important for making your Resin Art turn out great. Look for resin made specifically for art because they often give better results, like being clearer, tougher, and more resistant to sunlight. Also make sure the resin and hardener you use are meant to blend together well. It’s a good idea to spend a bit more on a well-known brand that’s known for making good resin products. Check out Gratitude Store Resin

2. Pigments and Colorants:
Pigments and colorants are what give colour to your Resin Art. They come in lots of forms, like liquid dyes, powders or inks. By trying out different colours and ways of using them, you can create really cool art that shows off your style and creativity.


3. Mixing Cups and Sticks:
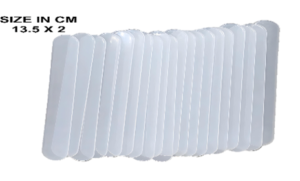
Getting the right mix of resin and hardener is really important for your resin art to turn out well. Using measuring cups with marks on them helps you measure the right amounts of resin and hardener. Also, using sticks made for mixing resin helps you blend them together properly without forming air bubbles or messing up the mix.

4. Silicone Moulds:
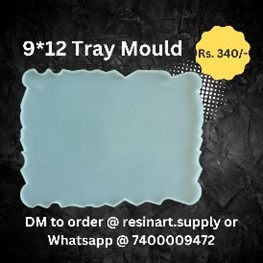
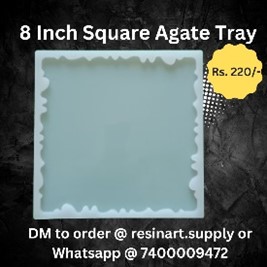
Silicone Moulds help you shape and hold your resin while it’s drying. There are lots of different moulds you can use like silicone or plastic ones. Some are simple, like trays, and others are more detailed, like ones for making 3D objects. Choosing the right mould for your project helps you get the shape you want and makes it easier to take your resin out when it’s done drying.


5. Heat Gun or Torch:
Often air bubbles gets trapped in your resin while you’re working with it and they make your art unattractive. Using a heat gun or torch help you get rid of these stubborn bubbles and dry your resin properly. By gently heating the surface of the resin, the bubbles rise up and pop leaving you with a smooth finish. Additionally using a heat gun tool helps make your resin dry faster.

- Personal Protective Equipment (PPE):
It is utmost important that one protect themselves from harsh chemicals and fumes when you are working with resin. Wearing gloves keeps your hands safe from coming in direct contact with resin thereby preventing any skin irritation. Goggles protect your eyes from any splashes or fumes which could lead to eye injury. Also wearing a mask or respirator helps you breathe safely by filtering out any toxic fumes or particles. Using this protective gear while making you resin artwork reduces the chances of any mishap and keeps you safe from accidents.

TECHNIQUES
- Resin Pouring:
- Prepare your work surface by covering it with plastic or a silicone mat to protect it from spills.
- Mix your resin and hardener according to the manufacturer’s instructions.
- Mix well to avoid any uncured spots.
- Pour the resin mixture onto your moulds starting from the sides working towards the centre in a controlled manner.
- Use a heat gun or blowtorch to remove air bubbles by passing it lightly over the surface of the resin.
- Experiment with different pouring techniques such as layering colours, creating swirls or incorporating additives like glitters or pigments for unique effects.
- Resin Casting:
- Select a mould suited to your desired shape and size ensuring it is clean and free of debris.
- Mix your resin and hardener according to the instructions given on the bottle to achieve the correct ratio.
- Pour the mixture slowly into the mould allowing it to flow evenly.
- Use a heat gun or torch to eliminate air bubbles trapped in the resin.
- Allow the resin to cure fully according to the manufacturer’s recommended time before removing it from the mould.
- Resin Coating:
- Prepare your base by ensuring it is free from dust or debris and levelled. You can use our 3 in 1 Magnetic Leveller tool to check whether you surface is levelled or not.
- Mix your resin and hardener in the correct ratio, stirring gently to avoid air bubbles.
- Pour the resin mixture onto the surface using a spreader or brush to ensure even coverage.
- Use a heat gun or torch to remove any air bubbles and achieve a smooth and glossy finish.
- Allow the resin to cure completely following the manufacturer’s recommended curing time.
- Alcohol Ink Art with Resin:
- Apply alcohol inks onto your substrate in desired patterns or designs using a brush, dropper or other applicators.
- Allow the alcohol inks to dry completely before proceeding with resin application.
- Mix your resin and hardener in the correct ratio ensuring thorough blending.
- Pour the resin mixture over the alcohol ink designs allowing it to flow and blend organically.
- Use a heat gun or torch to remove any air bubbles and enhance the vibrancy of the alcohol ink colours.
- Allow the resin to cure fully following the recommended curing time.
- Layering and Embedding:
- Create multiple layers of resin by pouring one layer, allowing it to partially cure and then adding additional layers.
- Embed objects such as flowers, shells or other decorative accessories into the resin layers to add depth and interest to your artwork.
- Ensure each layer is fully cured before adding the next layer to prevent mixing or bleeding of colours.
These techniques offer a starting point for exploring the diverse possibilities of resin art. Creativity with experimentation is a key to discover your signature style in resin artwork.

TIPS FOR SUCCESS:
While resin art offers endless creative possibilities, it also requires careful attention to detail and follow proper techniques to achieve desired results. Here are some tips for making you resin artwork a success:
- Follow instructions carefully: Always mix the resin and the hardener according to the instructions given on the bottle to avoid a weaker final product.
- Work in a well-ventilated area: Resin fumes can be harmful if inhaled, always work in a well-ventilated space or wear a respiratory mask.
- Take your time: Resin art requires patience and attention to detail. Take your time to mix the resin properly to eliminate air bubbles and execute your desired techniques.
- Experiment and have fun: Don’t be afraid to experiment with different techniques, colours, and materials. Resin art is all about creativity and exploration, so embrace the process and have fun with it!
CONCLUSION
Resin art is a captivating medium that offers endless opportunities for creative expression. Whether you’re a seasoned artist or a beginner, there’s something uniquely rewarding about working with resin and witnessing the transformative effects it can produce. From vibrant abstract paintings to intricate sculptures, resin art continues to push the boundaries of artistic innovation, captivating audiences around the world with its beauty and versatility. So why not dive in and unleash your creativity with resin art today?


